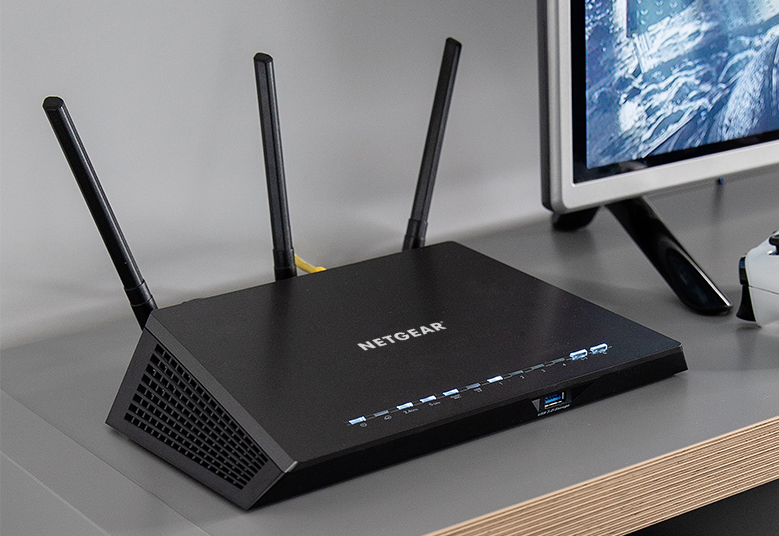
Setting up a Netgear router in your home facilitates you to access a high-speed internet. You can change the settings of your Netgear wireless router in order to maximize its performance and increase its security. One such feature of the Netgear router is the Access Point mode. In Access Point (AP) mode, your Netgear router acts as a gateway for the client devices to connect to it. By setting up your WiFi device in AP mode, you’ll have the following benefits:
- You can easily extend the WiFi range of your ISP provided network.
- Strong WiFi coverage across the doors that is you are flexible to access the internet even outdoor.
So, now you are aware of the advantages you will get after setting up your Netgear router in AP mode. Let’s delve into the steps by which you can enable AP mode.
Steps to Change Netgear Wireless Router to AP Mode
By default, your Netgear router operates in the Router mode. If you want to set your WiFi device to the AP mode, here are the steps to follow:
- Connect your Netgear wireless router to an active power source.
- Switch on the Power button.
- Ensure that the LED light on your Netgear router is steady.
- Now, make a hardwired connection between your WiFi router and the existing modem.
- Thereafter, turn on your computer.
- Since a blazing-fast internet is one of the crucial requirements of enabling the AP mode on Netgear router, check for the same. Therefore, open the Command Prompt and type Ping 192.168.1.1.
- Press the Enter key.
- If the ping test responds, it means there is a stable internet connection between your Netgear router and computer.
- Access a web browser like Google Chrome, Mozilla Firefox, Microsoft Edge, Apple Safari, etc.
- Go to the address bar.
- Type the 192.168.1.1 IP address in it and press Enter.
Note: If the 192.168.1.1 IP address fails to redirect you to the router login page, consider using 192.168.0.1 IP address instead.
- The Netgear router login page will come into view prompting you to fill in the username and password.
- Fill in the default login details of your Netgear wireless router into their respective fields.
- Click the Log In button.
- Hitting Log In will take you to the Netgear router setup wizard.
- Once there, select the Advanced tab.
- Click Advanced Setup > Wireless AP option.
- Select the AP mode option.
- Lastly, don’t forget to click the Apply button to save the new changes.
As soon as you set your Netgear router on AP mode, your client devices will get disconnected from the router’s network. So, reconnect your client devices to the router’s network which is now operating in AP mode.
Points to Remember While Enabling AP Mode
- Make sure that the hardwired connection between your Netgear wireless router and the existing modem is finger-tight. Besides, use a working Ethernet cable to avoid any issues while enabling AP mode on your router.
- Use an updated web browser to access the default router IP. Also, ensure that the browser is free from the cache, cookies, and browsing history.
- Enter the correct default router IP in the address bar of the web browser. Some Netgear routers also support the 192.168.1.2 IP address. So, consider using it to access the Netgear router login page if 192.168.1.1 doesn’t work for you.
- Do not enter the wrong username and password to log in to your Netgear wireless router. The reason being, the default login details are case-sensitive. A typo can prevent you from setting your router in AP mode. So, be careful while entering the router login details.
Summing Up
Our guide to change the Netgear wireless router to AP mode comes to an end here. We hope that you enjoyed reading the article and will be able to set your Netgear router to AP mode in a hassle-free manner.
