Whenever you connect your Netgear extender to the host router, it receives an IP address. An IP address works as a digital identity for your Netgear WiFi range extender. However, this IP issued by the router is dynamic. It means every time the extender connects to the router, the IP address changes. However, it might not be secure. Hence, the need to have a static IP for your Netgear extender becomes more significant.
If you setting up the static IP for the first time make sure you are done with the new extender setup process. Once that is done, you should go through the following points to know how to change the IP from dynamic to static for your Netgear extender. Keep reading.
Steps to Enable Static IP For WiFi Repeater
Turn on Extender
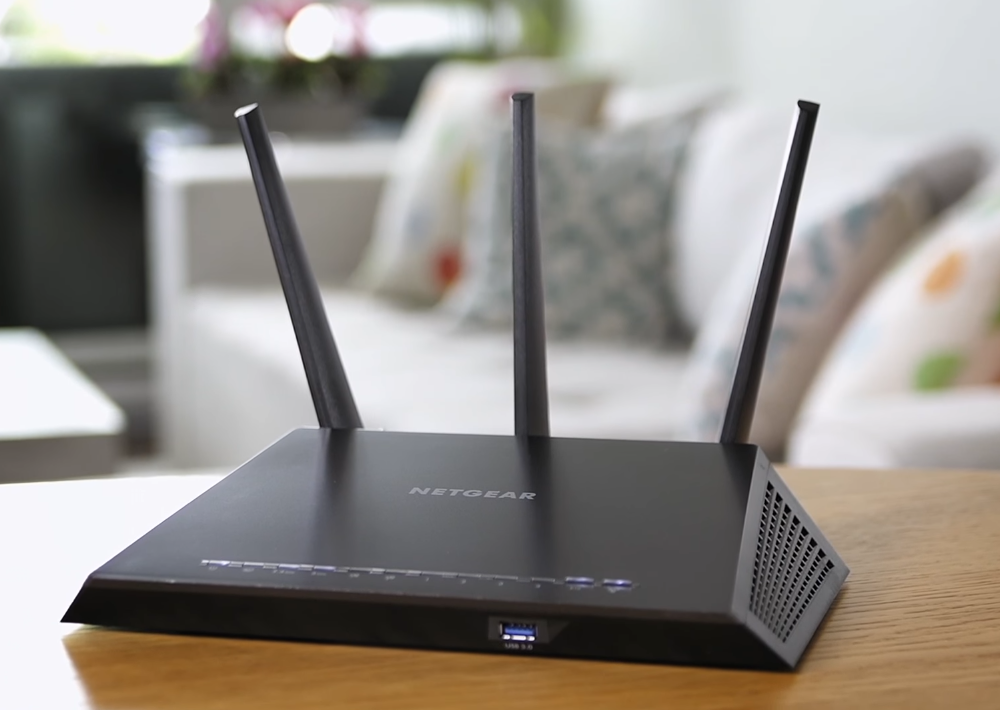
Connect your Netgear extender to a switchboard. Choose a perfectly working power socket. Plug your Netgear range repeater into the chosen wall socket. It should fit tightly to have a consistent power supply. Press the power button on your Netgear extender to start the device.
Link with Router
Get hold of the Ethernet cable and use it to connect your WiFi range extender to the host router. Make sure that the cable connection is tight. Also, the cable used should not be corrupt or worn out. In case you don’t have an Ethernet cable, link the devices wirelessly.
Bring the devices closer to each other. Check the router’s range before connecting the devices wirelessly.
Choose Ideal Location
To set up static IP, your extender should be placed in a perfect location. That is why you need to choose the central location for extender placement. Also, don’t place the Netgear extender close to heavy electrical appliances. It might hamper your WiFi signals.
Avoid the extender placement in the corners, wall cabinets, or behind the T.V. With the right placement, you can easily get the best WiFi range and internet access on Netgear_ext SSID.
Launch Web Browser
Turn to your computer and launch a web browser. You should always choose an updated web browser only. Otherwise, the web page that you want to open might not open or you get different display results. In short, use an updated web browser to get things in a perfect flow.
Furthermore, your chosen web browser should be compatible with the operating system of your computer/laptop. Always clear the cookies or cache files of your web browser.
Type in Default URL
Once the web browser gets stable, enter the default Netgear extender URL. Use the address bar to enter the web address. Make sure you don’t type the web address in the search bar. Also, you should not commit even a single typing error while entering the web address.
Once you are done, press the Enter Key. It will take you to the Netgear extender login page. This page is the same whether you perform a Netgear EX2700 setup or install any other extender model.
Enter Login Details
Keep Login details at your disposal when the Netgear extender login page opens. Enter the username and password in the dedicated spaces. If you have not customized the login credentials, use the default information.
Login details are case-sensitive. Therefore, turn off the Caps Lock key before typing the data into the respective spaces. Click the Log In button after you are done entering the login details.
Open Setup & IP Address Setup
When you get access to the Netgear extender setup page, you should click on the Setup option. From there, maneuver to the IP Address Setup option. A dialog box opens on your home screen. It has two options.
- Get Dynamic IP Address From Router
- Use Static IP Address
To enable the Static IP Address, choose the 2nd option. Enter the information required in the IP address fields.
Select Apply
After completing the information, click on the Apply button. It is located at the top of the dialog box. Hence, the settings will be saved.
Wrap Up
Enabling the Static IP for your Netgear extender will benefit you a lot. From better speed to a secure connection, you get the most out of your Netgear extender. Hence, you must follow each step given above for the best experience.
In case you face any issues, this article will be your go-to guide. Hence, have a deeper understanding of all the steps mentioned so that you can do the process hassle-free. With that, your extender will have a single IP no matter how many times it connects to the internet.